Introduction
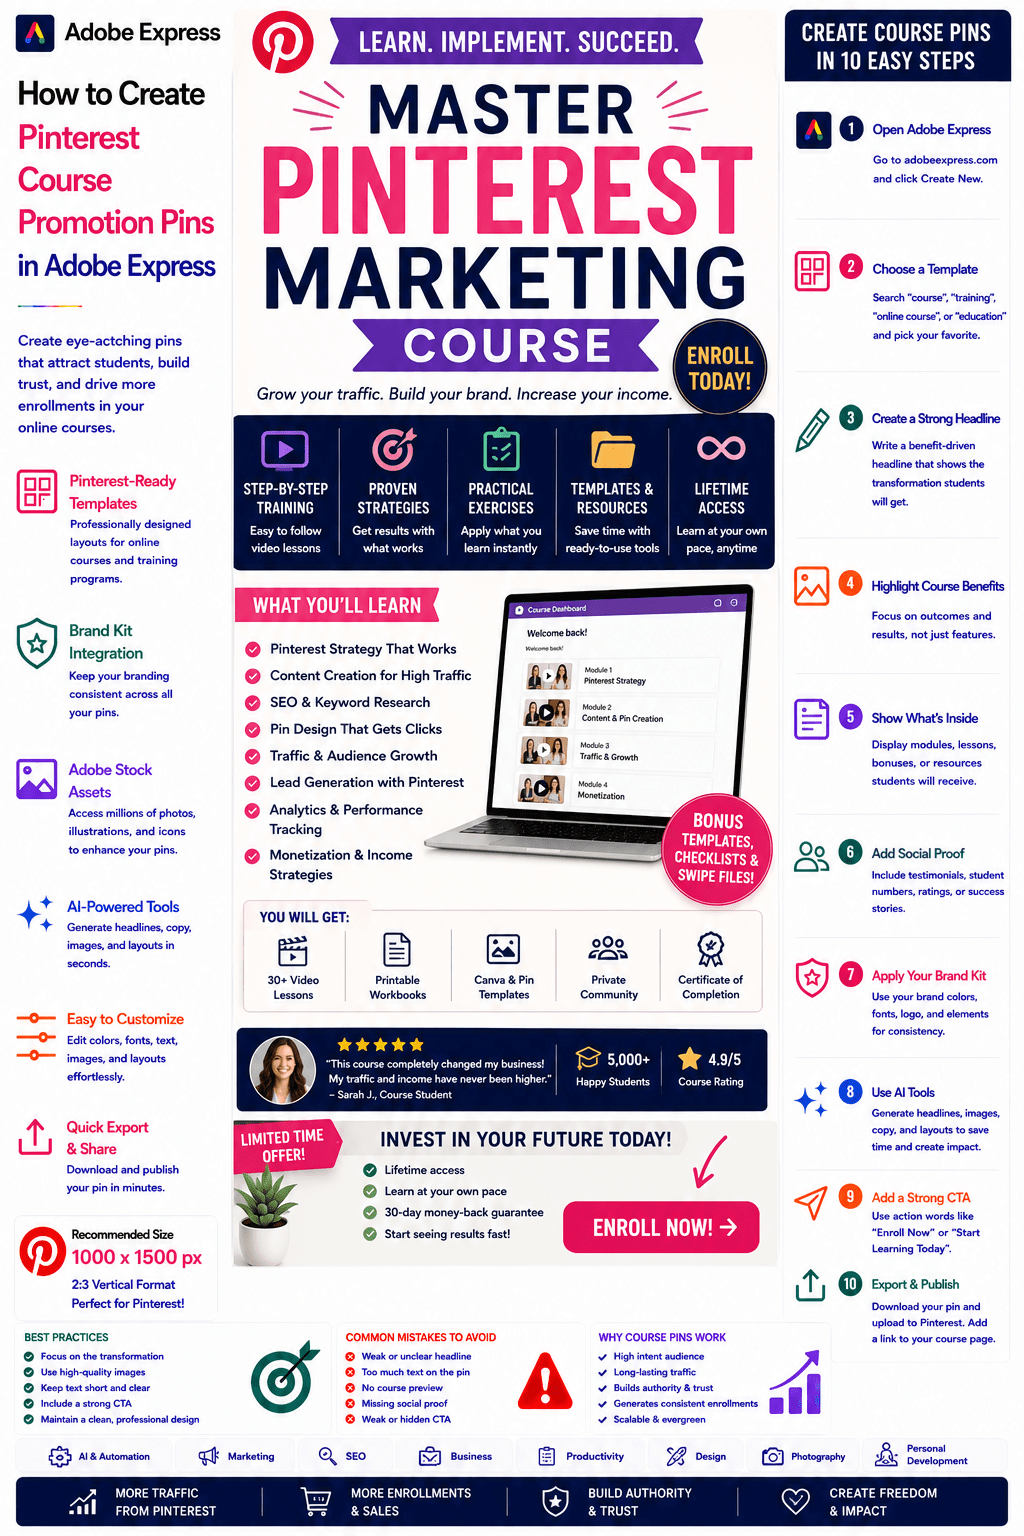
Templates are one of the fastest ways to create professional content in Adobe Express.
However, the real power of templates comes from customization.
Instead of using a template exactly as it appears, you can modify it to match your:
- Brand
- Audience
- Campaign
- Message
- Goals
Whether you’re creating social media graphics, presentations, marketing materials, videos, or educational resources, customization allows you to transform a generic template into unique content that reflects your organization and objectives.
In this guide, you’ll learn how to customize Adobe Express templates effectively and efficiently.
Why Customize Templates?
Templates provide a starting point.
Customization makes them yours.
Benefits include:
Brand Consistency
Apply company branding.
Better Audience Alignment
Tailor content to your target audience.
Unique Designs
Avoid generic-looking content.
Improved Engagement
Create more relevant messaging.
Faster Content Production
Modify instead of designing from scratch.
Most professional Adobe Express users rely heavily on template customization.
What Can Be Customized?
Almost every part of an Adobe Express template can be modified.
Examples include:
Text
Headlines and descriptions.
Images
Photos and graphics.
Colors
Brand palettes and campaign themes.
Fonts
Typography and style.
Layouts
Content placement.
Icons
Visual communication elements.
Logos
Business branding.
This flexibility makes templates highly versatile.
Step 1: Open Adobe Express
Sign in to your Adobe Express account.
Navigate to:
Templates
Search for a template that matches your project needs.
Choose the design you want to customize.
Step 2: Open the Template in the Editor
Click the template.
Adobe Express will open the editor.
The editor allows you to modify every major element.
You’ll typically see:
- Design canvas
- Editing toolbar
- Asset libraries
- Text controls
This becomes your customization workspace.
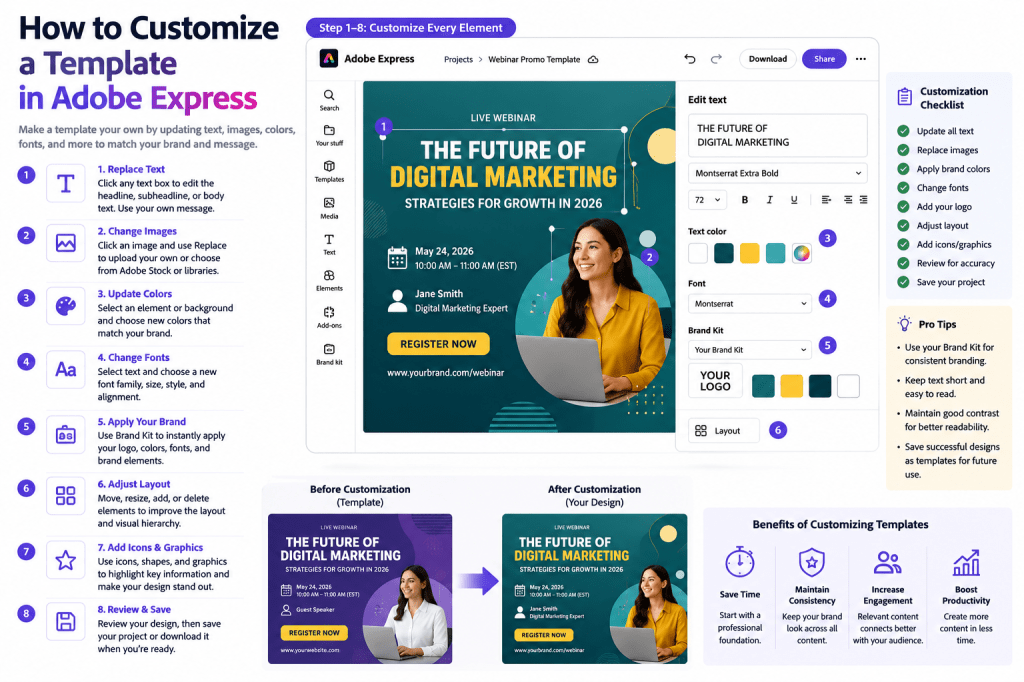
Step 3: Replace the Headline
Most templates contain placeholder text.
Example:
Before
“Summer Sale”
After
“2026 Product Launch”
or
“Join Our Free Webinar”
Your headline should immediately communicate the purpose of the content.
Step 4: Update Supporting Text
Replace sample descriptions with your own information.
Examples include:
Product Details
Explain features.
Event Information
Dates and locations.
Marketing Messages
Promotional content.
Educational Content
Learning objectives.
Always review placeholder text carefully to ensure nothing remains unchanged.
Step 5: Replace Images
Images are often the most noticeable part of a design.
You can:
Upload Your Own Images
Company photos.
Add Product Images
Marketing campaigns.
Use Adobe Assets
Stock photography.
Add Team Photos
Internal communications.
Relevant images improve engagement and credibility.
Step 6: Change Colors
Colors strongly influence visual identity.
You can modify:
Background Colors
Overall design appearance.
Text Colors
Improve readability.
Accent Colors
Highlight key information.
Graphic Colors
Support branding.
Use colors intentionally rather than randomly.
Step 7: Apply Your Brand Kit
One of the fastest customization methods is using a Brand Kit.
A Brand Kit may automatically apply:
Logo
Company branding.
Brand Colors
Approved palette.
Fonts
Corporate typography.
Visual Identity
Consistent appearance.
This can save significant time across multiple projects.
Step 8: Change Fonts
Typography affects readability and perception.
You may customize:
Headlines
Bold and attention-grabbing.
Body Text
Clear and readable.
Call-to-Action Text
Prominent and visible.
Choose fonts that support your brand personality.
Step 9: Adjust the Layout
Templates provide a structure, but layouts can be modified.
Examples include:
Move Text
Improve hierarchy.
Resize Elements
Increase emphasis.
Reposition Images
Create balance.
Add Additional Sections
Expand content.
Layout adjustments help personalize the design
Step 10: Add Your Logo
Most business content should include branding.
Examples include:
Company Logos
Corporate identity.
Product Logos
Specific offerings.
Event Logos
Promotional materials.
Program Branding
Educational resources.
Logo placement should be visible without dominating the design.
Step 11: Customize Icons and Graphics
Icons help communicate information visually.
Examples include:
Marketing Graphics
Promotional content.
Educational Icons
Learning materials.
Business Symbols
Professional communications.
Social Media Elements
Platform-specific content.
Choose graphics that support the message.
Step 12: Review the Entire Design
Before saving, perform a final review.
Check:
Spelling
Eliminate errors.
Branding
Verify consistency.
Alignment
Ensure professional appearance.
Readability
Improve user experience.
Visual Balance
Create a polished design.
A thorough review improves quality.
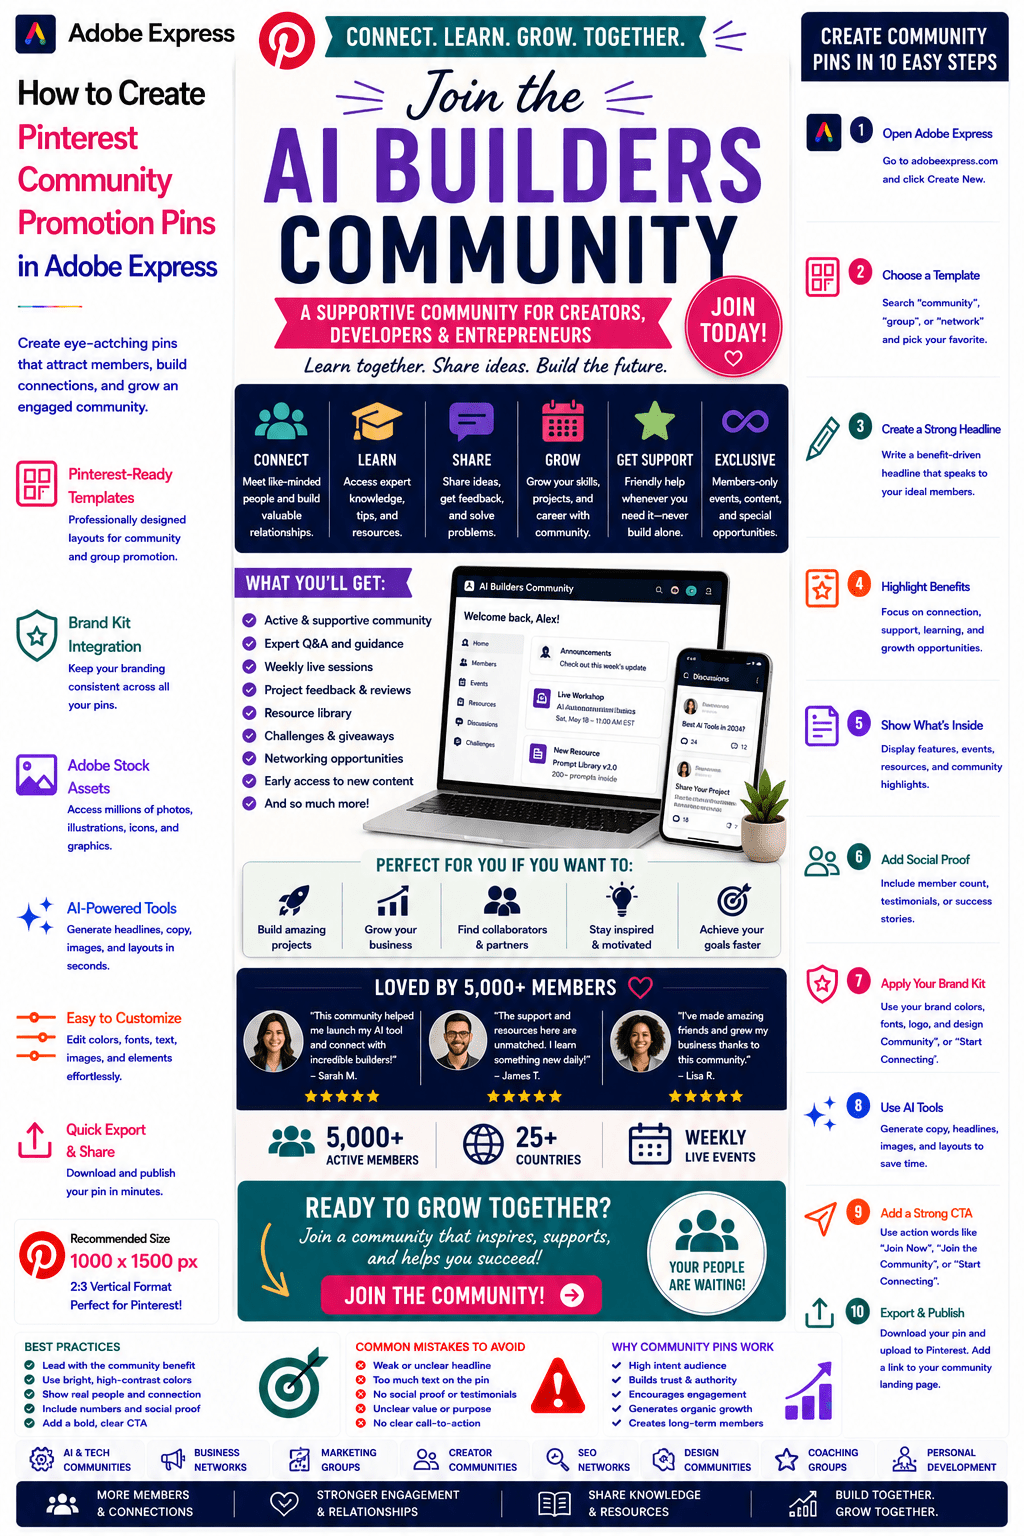
Customizing Templates for Social Media
Social media content often requires:
Platform-Specific Messaging
Audience-focused content.
Updated Images
Relevant visuals.
Strong Calls to Action
Increase engagement.
Consistent Branding
Improve recognition.
Templates make social content creation much faster.
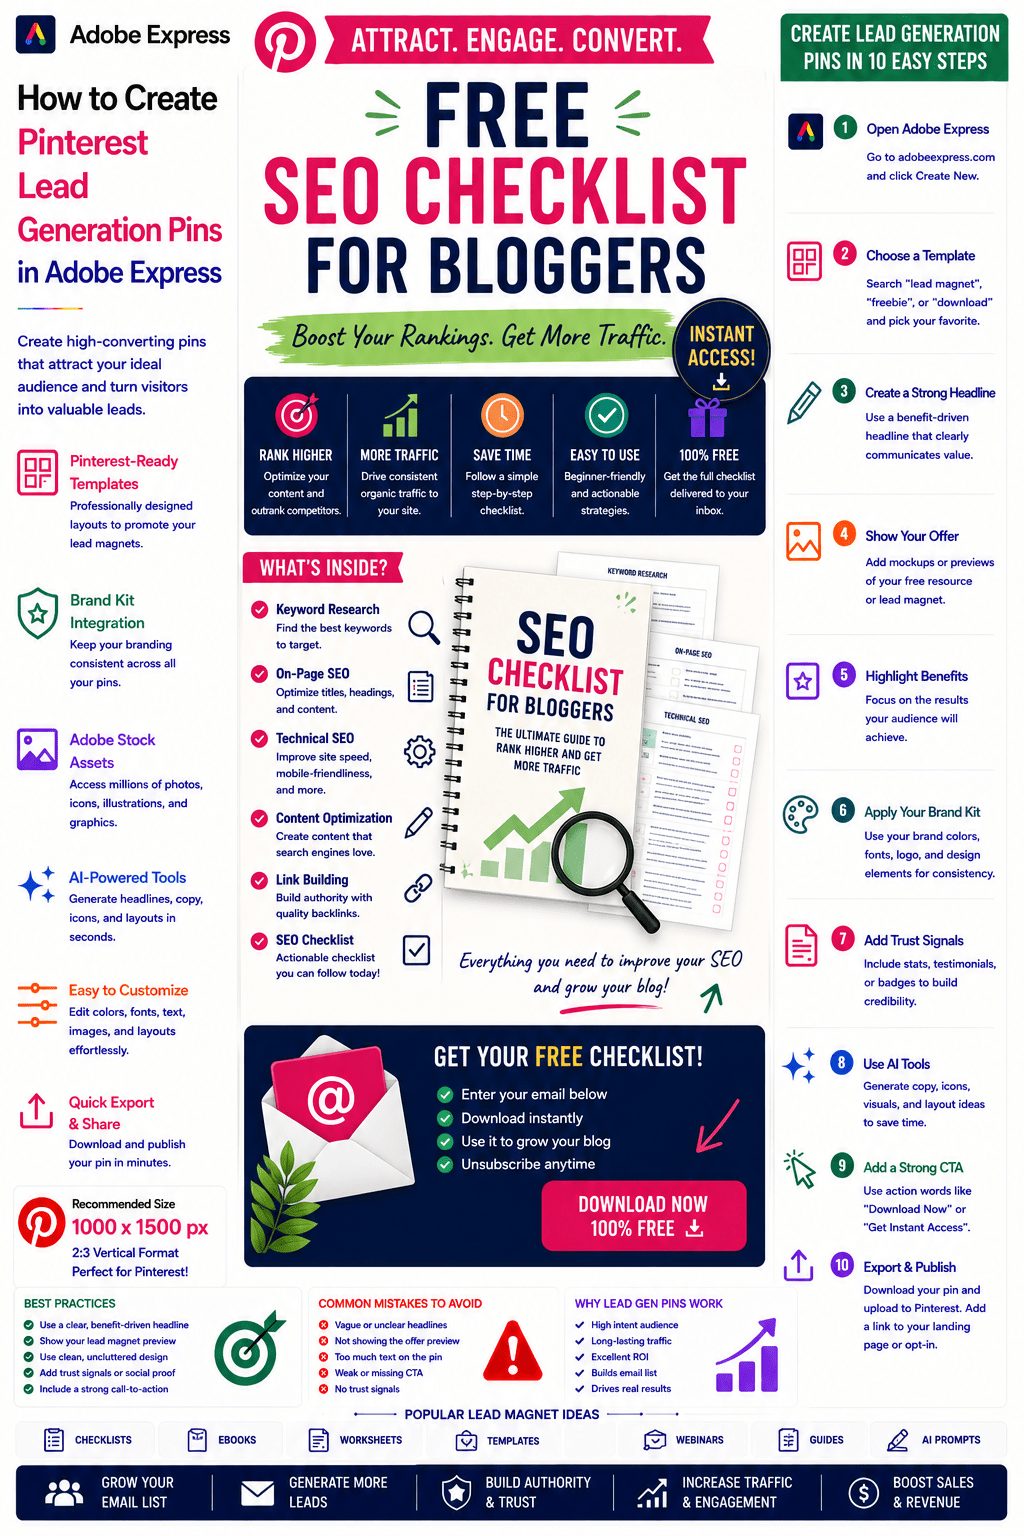
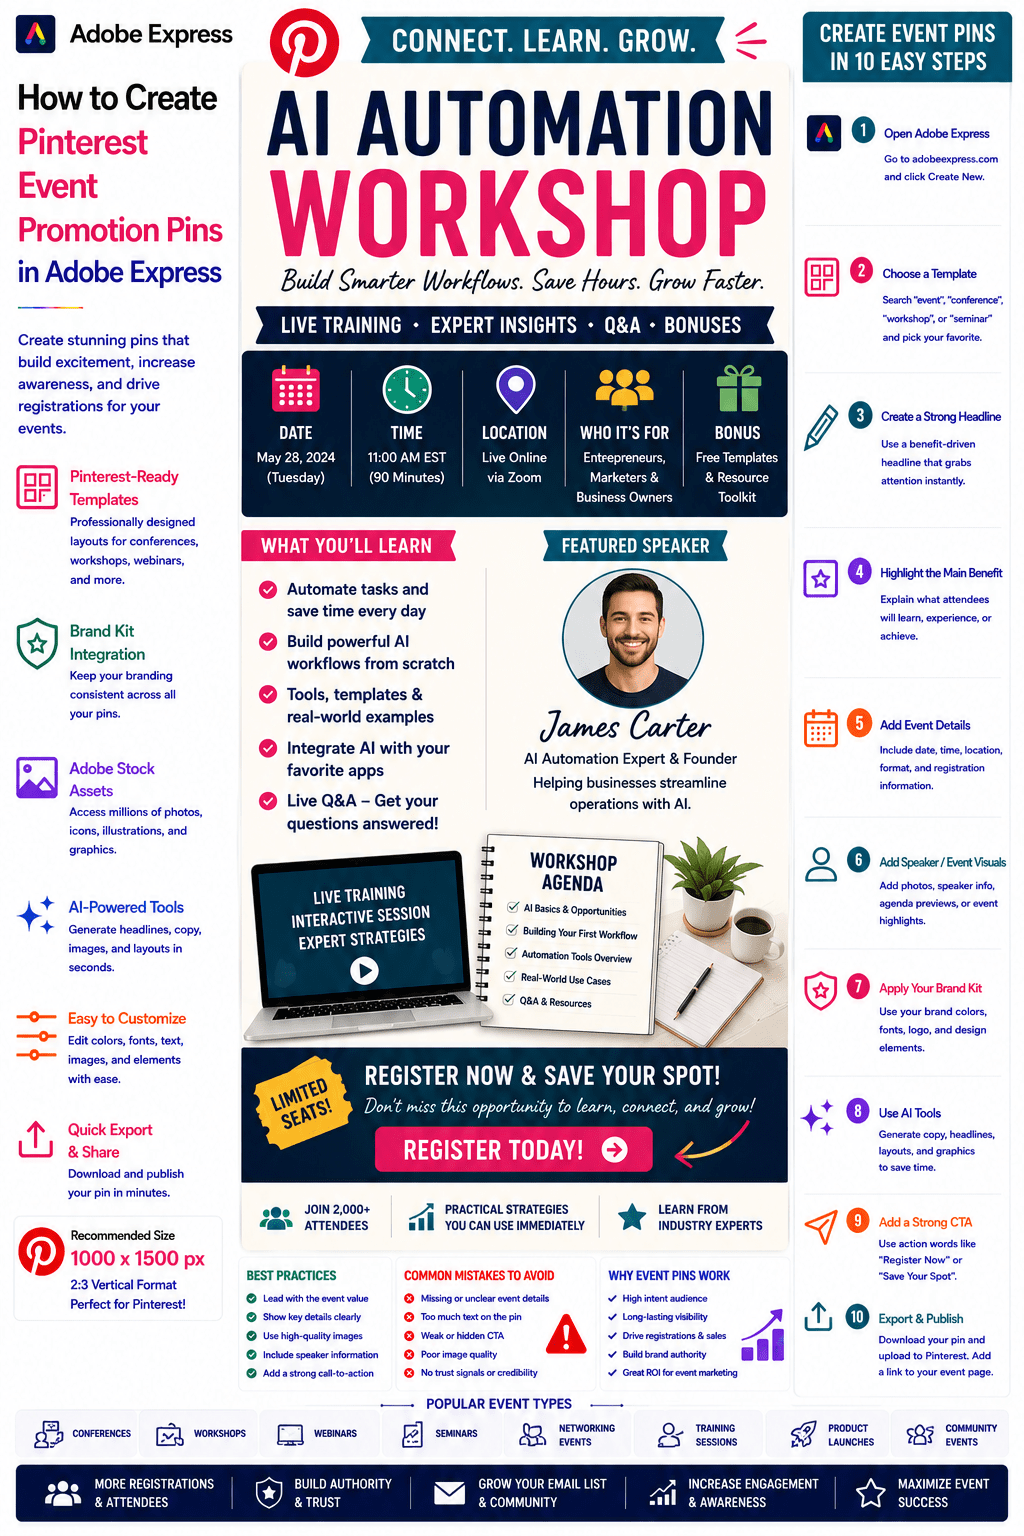
Customizing Templates for Marketing Campaigns
Marketing teams frequently customize:
Product Launch Graphics
Promotional assets.
Event Flyers
Campaign materials.
Lead Magnets
Customer acquisition.
Advertising Content
Brand awareness initiatives.
Customization allows campaigns to remain unique while using proven structures.
Customizing Templates for Business Communications
Business content often includes:
Presentations
Internal and external communication.
Reports
Professional documentation.
Announcements
Employee updates.
Customer Communications
Relationship building.
Brand consistency is especially important in business content
Customizing Templates for Education
Educators frequently modify:
Classroom Presentations
Instructional materials.
Infographics
Visual learning.
Worksheets
Student resources.
Training Materials
Professional development.
Templates simplify educational content creation.
Common Customization Mistakes
Leaving Placeholder Text
One of the most common errors.
Ignoring Brand Guidelines
Creates inconsistency.
Overcrowding the Design
Too much information reduces effectiveness.
Using Too Many Fonts
Makes content look unprofessional.
Adding Unnecessary Graphics
Can distract from the message.
Simple designs often perform best.
Best Practices
Customize Text First
Establish the message.
Apply Brand Kit Early
Improve consistency.
Use High-Quality Images
Increase professionalism.
Maintain White Space
Improve readability.
Save Successful Designs
Create reusable assets.
These habits improve both quality and productivity.
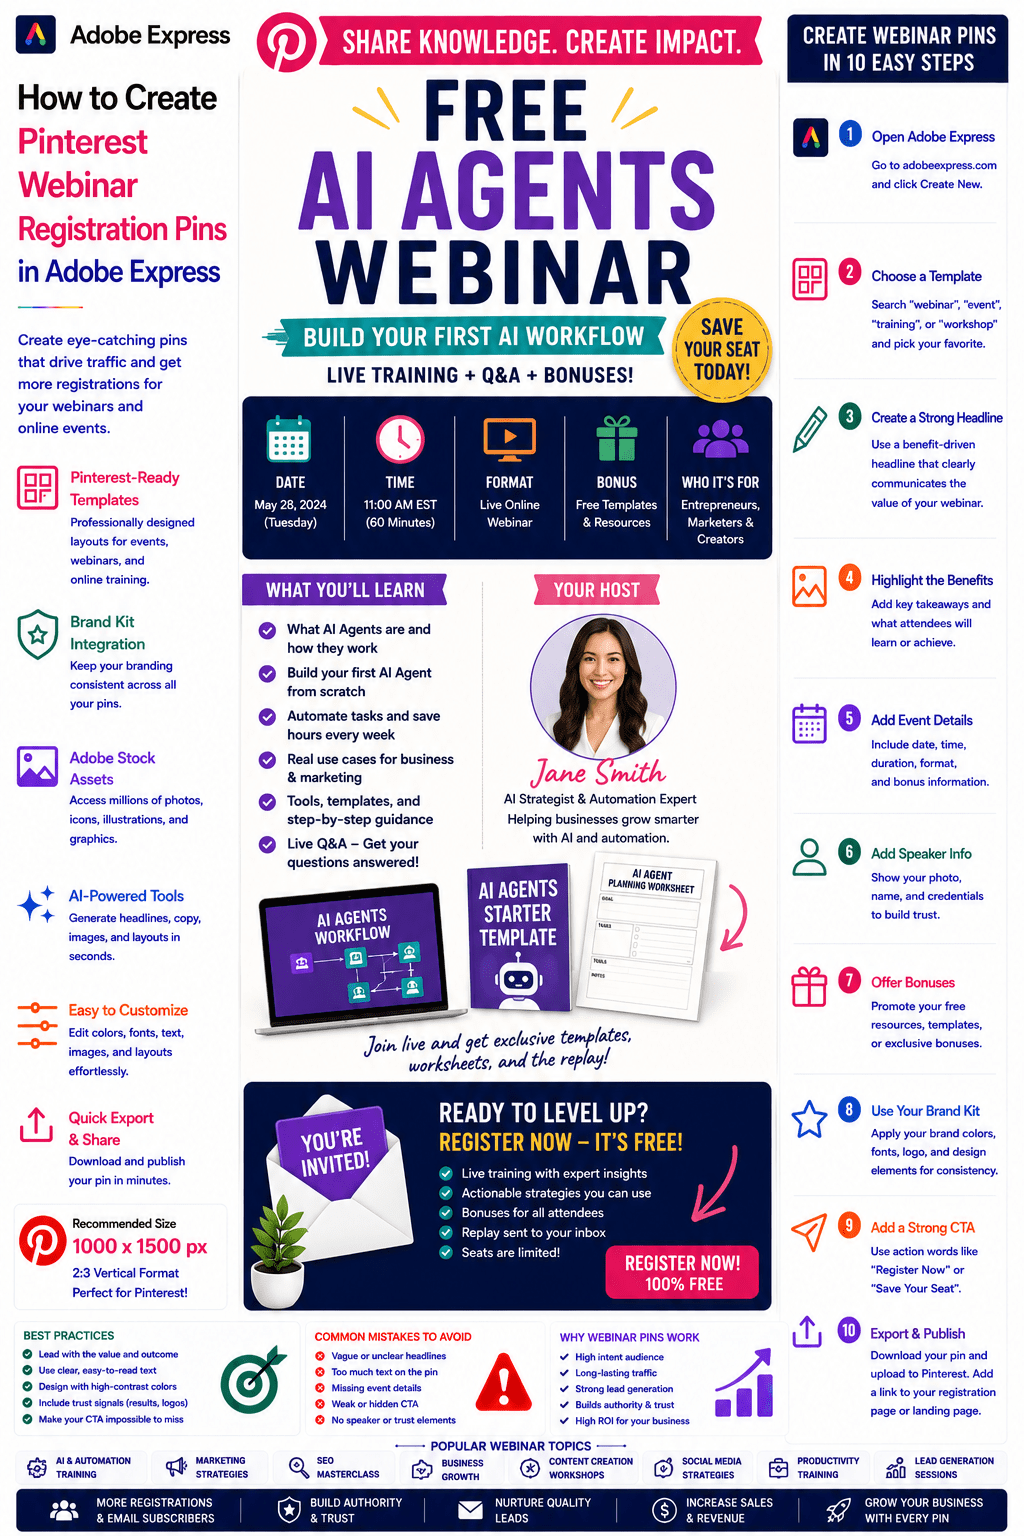
Example Workflow
Imagine you’re creating a webinar promotion.
Step 1
Choose a webinar template.
Step 2
Replace the headline.
Step 3
Add webinar details.
Step 4
Upload speaker photos.
Step 5
Apply Brand Kit.
Step 6
Add registration link information.
Step 7
Save and publish.
Within minutes, the template becomes a unique marketing asset.
Why Customization Improves Productivity
Customizing templates is faster than building designs from scratch.
Benefits include:
Faster Creation
Reduce design time.
Better Consistency
Reuse proven layouts.
Higher Quality
Start with professional structures.
Easier Scaling
Create large volumes of content.
Stronger Branding
Apply standards efficiently.
These advantages compound as content needs grow.
Conclusion
Customizing templates in Adobe Express allows you to combine the speed of pre-designed layouts with the flexibility of personalized content.
By updating text, replacing images, applying Brand Kits, modifying colors, adjusting layouts, and adding branding elements, you can transform any template into a professional asset tailored to your audience and goals.
Whether you’re creating social media posts, marketing campaigns, presentations, educational resources, or business communications, template customization is one of the most valuable Adobe Express skills you can learn.
Mastering this process will help you create more content, maintain consistency, and work significantly faster.
Continue Learning Adobe Express
To learn more about creating professional content efficiently, explore these guides:
- Adobe Express Content Creation: The Complete Guide
- Adobe Express Visual Communication: The Complete Guide
- Adobe Express Brand Management: The Complete Guide
If you’re building content systems across teams, also read: